
Actions can be added to the Design Window by drag and drop from the Components (Tool) box. Dragging is done by holding down the left button of the mouse after selecting the intended action and moving the mouse cursor to the intended location in the Design Window and releasing the button again. Thereafter, the intended action will be displayed in the Design Window.
In order to delete an action, firstly click on the action. When the action is selected, click on “Delete” button on the keyboard or right click on the action and then click on “Delete” option.
There are two ways to view the property dialog for actions in the Design Window. You can access to the action features by double clicking on the action object or right clicking on the action object and then choosing “Features” on the opened menu.
In order to move an action, hold down the left button of the mouse and drag the action with the mouse cursor. Release the mouse button to drop the action where it is.

In order to connect an action to another, drag it from the outward arrow in the first action towards to the inward arrow of the second action as if you were drawing a “line”.
Select the line or link you want to delete by clicking on it with the left button of mouse. When the selected line or connection is underlined, click on “Delete” button on the keyboard. The link in the process will disappear. Or right click on the link and then click on the “Delete Link” option.
For multiple action and link selection, click / select the desired actions while holding down the Ctrl key. You can copy, group, delete or move these actions to another point on the definition screen.
In order to change the label text (action definition or name) left click on the label text once. Once the label text is highlighted, you can change the text of the label by typing the new information and pressing the “Enter” key.
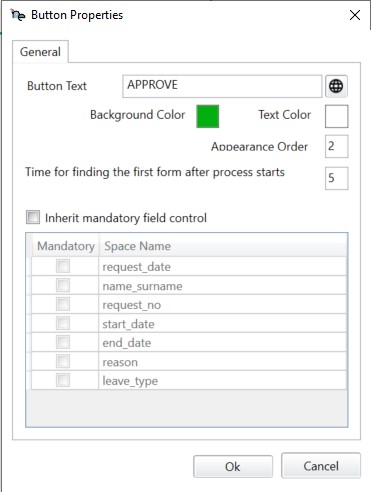
Or you can change the label text and background color on the window opened by double clicking on the label text (button).
